

Over the years of working with Sync 3 in cars, there has always been a constant question asked… “Can Sync 3 play video?” For a long time, the answer has been a flat NO, but with recent developments from a team of dedicated programmers and tinkerers over at FMods.net, they have come up with a way to successfully hack Sync 3 to accept modifications.
Just a disclaimer, this is not only guaranteed to void any warranty you might have, but some of the mods may be inherently dangerous. If you decide to pursue this project you may face unexpected issues that are not covered in this video & guide. NaviUpgrade makes no guarantees you’ll be successful in your endeavors to apply this modification to your vehicle. You are doing these mods at your own risk. NaviUpgrade is in no way responsible for improper installation or loss caused by pursuing this project. These mods allow enabling video in motion; you are responsible for using modifications in accordance with your local, state, and federal laws. NaviUpgrade may not be held accountable for any loss or damages caused by using Sync 3 modifications in any situation.
Please be aware that some of the links on this page may be affiliate links that we earn a commision off of.
What You’ll Need
Now that’s out of the way, lets get into what you’ll need to successfully complete this project. Most importantly, you’ll need a Sync 3 equipped vehicle. If your car is currently equipped with Sync 2, be sure to check out our Sync 2 to Sync 3 Upgrade Kits. If you’re not sure if you have Sync 3, check out our post on How to Tell the Difference Between Sync 2 & Sync 3.
In terms of hardware, you’ll need a few things…
First, you’ll need three to four usb thumb drives. Fortunately, Amazon sells these in pretty big packs.
Next you’re going to need a Windows laptop. Doesn’t need to be fancy, but I personally use the HP Spectre x360.
Finally you’re going to need an OBD2 adapter tool… there are a few to choose from, ranging from cheap to incredible.
First is the one I use on my bench tester — the VINT OBD2 MS/HS CANBUS Adapter
My next recommendation is my absolute favorite adapter — the OBDLink EX OBD2 Adapter…
This adapter has built in auto-canbus switching and works perfectly with FORScan. It’s even quick enough to perform module updates!
Finally, the most expensive one I only recommend if you want a good all-around bluetooth OBD2 tool that you can use with both a bluetooth enabled laptop or with phone apps like Torque Pro. Of course, I’m talking about the OBDLink MX+ Scan Tool!
Jailbreaking Sync 3
Now it’s on to the fun part, actually hacking this thing!
First, you’re going to need to download the files needed to transfer over to your new USB drives.
To receive access to the files, please subscribe to our mailing list below.
[fluentform id=”8″]Once you’ve downloaded the zip folder, please follow the video below to complete the jailbreak procedure:
Once you have the files downloaded and the main zip extracted, label each of your USB thumb drives as #1, #2, #3. Extract the contents of “Stick1-HACK.zip” to USB #1, “Stick2-Daemon.zip” to USB #2, and “Stick3-Mods-Tools.zip” to USB #3.
Once you have each USB thumb drive set up, it’s time to head out to your car with the USB thumb drives, your Windows Laptop with FORScan installed, and your OBD2 Adapter.
Firstly, plug in your OBD2 adapter to your vehicle and your laptop, start FORScan, and connect to the vehicle.
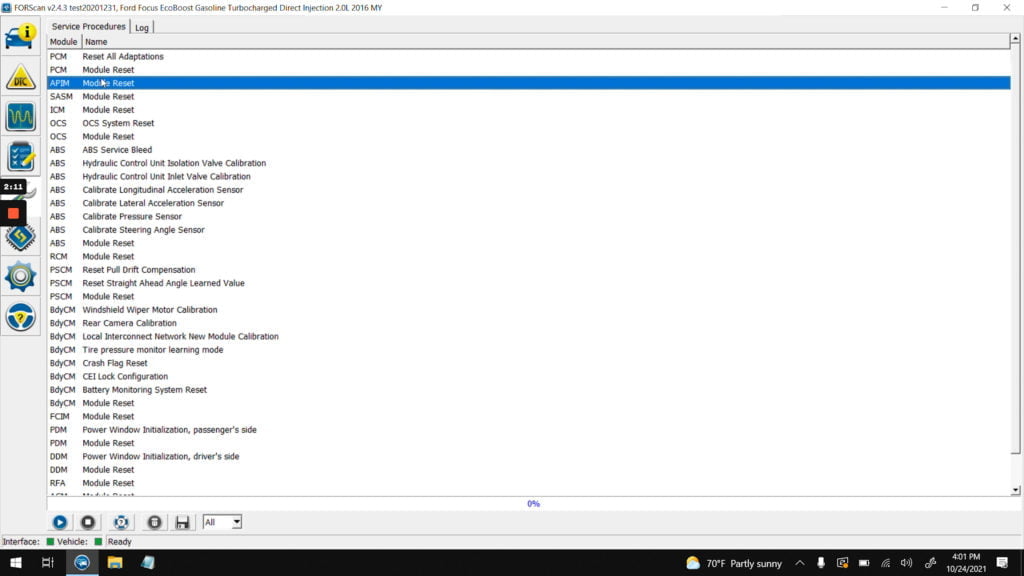
Once you’re connected to your vehicle, head over to the “Service Functions” tab on the lefthand side of FORScan. If you are on a switched adapter like the VINT, please make sure you are on the HS CANBUS switch.
To get ahead of the game, highlight “APIM Module Reset” and click the play button near the bottom left corner.
This will pop up and say “This function will perform a forced module reset.”
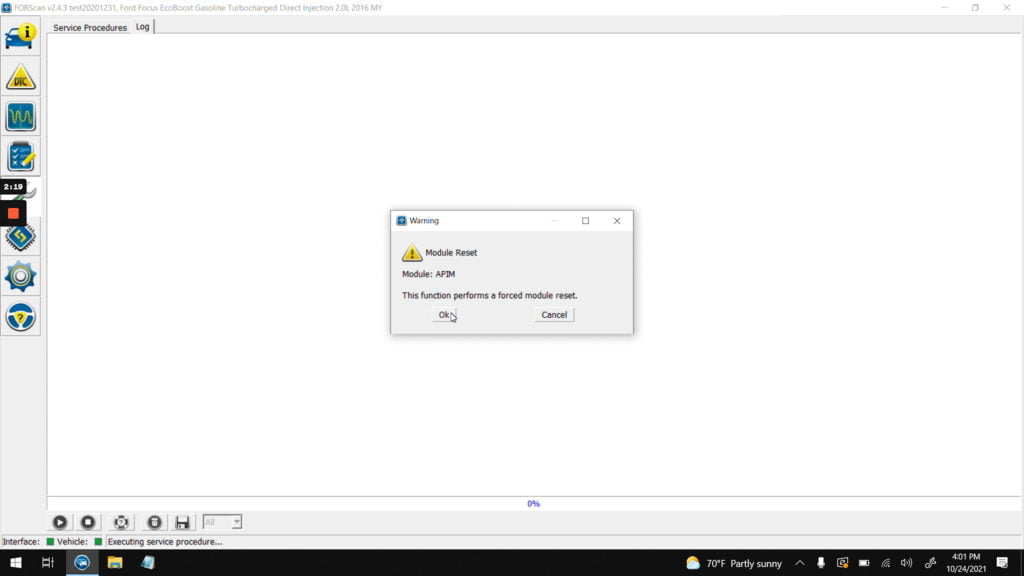
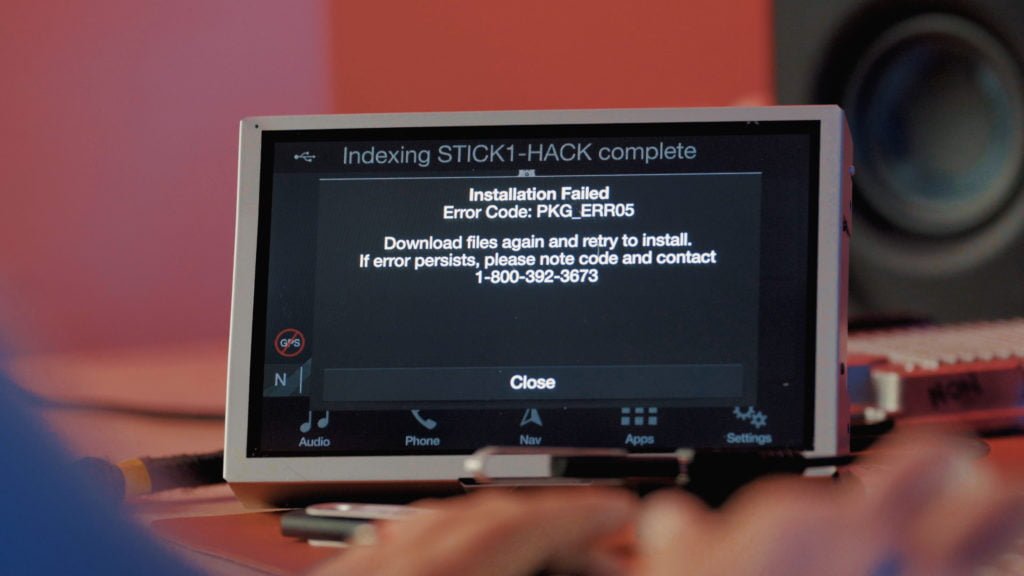
Now, it’s time to insert USB #1 into your vehicle’s USB Hub. Once you do this, immediately have your fingers ready to press OK on the Module Reset window. As soon as you see the “PKG_ERR05” window pop up, you want to immedately press OK and get your Sync 3 APIM module reset.
Your module will now resetart.
Once Sync 3 boots again, you’ll inserty USB #2 into your USB hub. This will install the Daemon listener.

Once this is installed, simply remove USB #2, and let Sync 3 reboot.
Now that the Daemon is installed, it’s time to install the FMods Toolkit via USB #3. Insert USB #3 once Sync 3 has booted.

Once USB #3 has been inserted and read, you will see the A-TEAM “Mods Tools have been installed” notification pop up. Simply remove the USB and let Sync 3 reboot.
Congrats! You have successfully jailbroken Sync 3 in your vehicle!
If you found this guide helpful, I would super appreciate any and all purchases from my webstore.
Thanks!